
Upgrading an old sign to LED might seem like a big job, but it’s actually one of the best investments you can make in signage. The technical team at Firstlite LED have prepared this guide to retrofitting an existing sign with LEDs
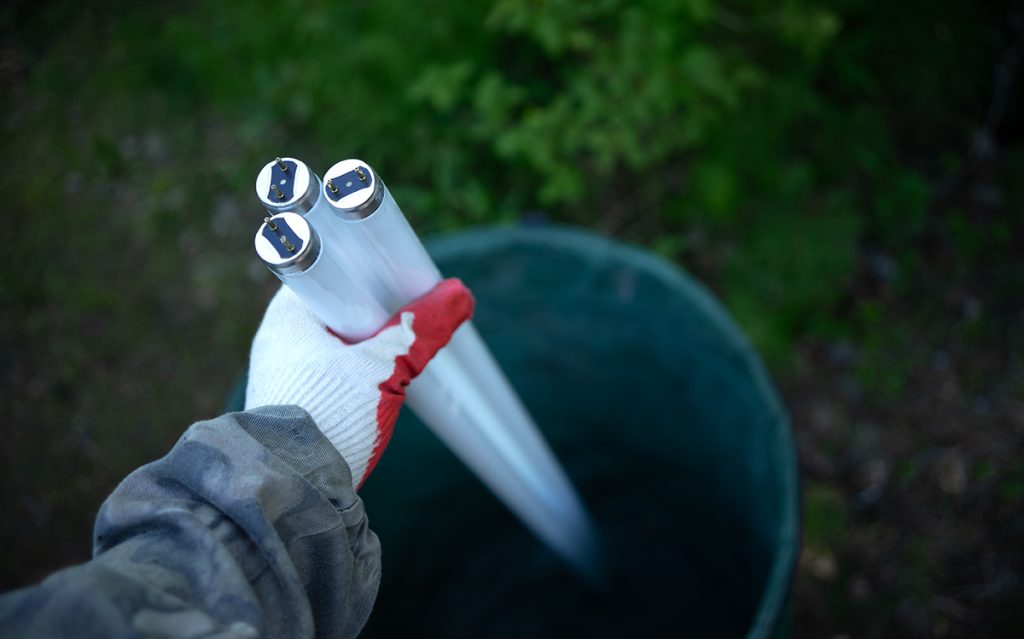
Upgrading an old sign to LED might seem like a big job, but it’s actually one of the best investments you can make in signage. Whether you’re dealing with flickering fluorescent tubes, dull outdated lighting, or just a sign that’s costing too much to run, switching to LEDs will give you better brightness, lower energy bills, and almost no maintenance.
At Firstlite, we’ve helped countless businesses retrofit their signs with LED, and the process is usually simpler than people think.
Here’s how to do it.
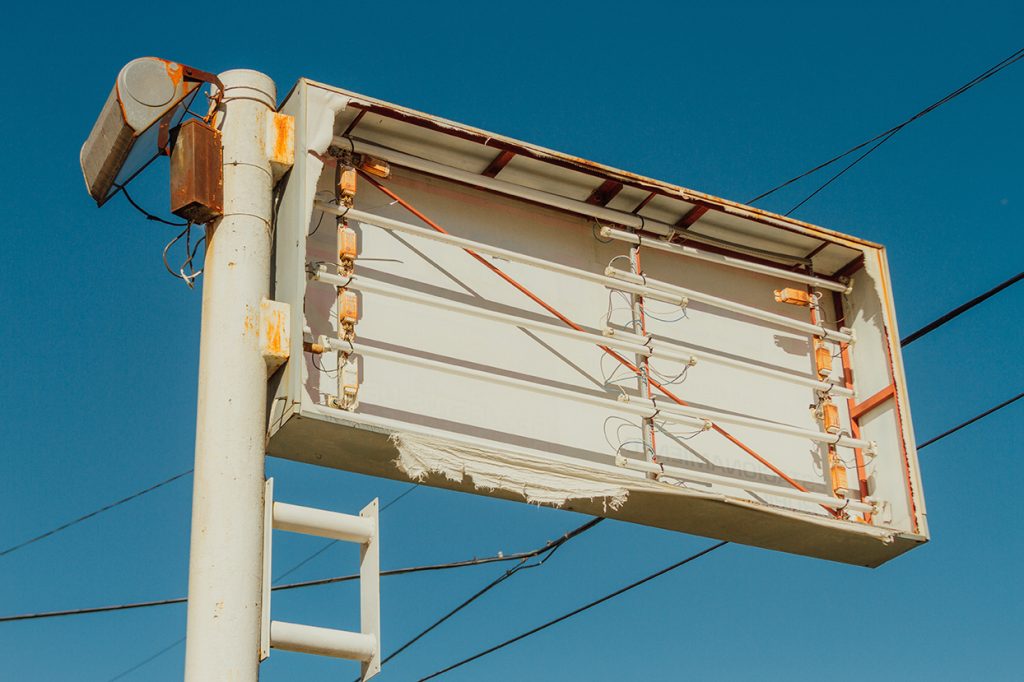
Step 1: Check what you’re working with
Before ripping anything out, take a good look. Is it a lightbox, channel letters, or old-school neon? What’s powering it? Any unsafe wiring? If things are damaged or unsafe, fix them first. A solid base makes the whole job easier.
Step 2: Pick the right LEDs
Not all LEDs are the same, so match them to your sign. Lightbox? Go for our high-output FL Max modules, which offer a nice, even glow with no hotspots. Want that classic neon look? Flexible LED Neon does the job without the hassle. Replacing fluorescent tubes? Swap them for FL Prime. Choose the right LEDs, and you’ll get the best results.
Step 3: Plan your layout
LEDs need proper spacing to avoid patchy lighting or shadows. A handy rule? Keep the gap between modules about the same as the distance from the sign face. And ALWAYS test your layout before sticking anything down. Saves a lot of swearing later.
Step 4: Install and wire it up
Now for the fun part. Take out the old lights, clean up inside, and mount the LEDs. Most have adhesive backing, but Pan Head Screws work, too. Connect everything securely; loose wires are bad news. And don’t just reuse the old power supply. LEDs need the right driver to work properly.
Step 5: Test, adjust, admire
Before sealing it up, switch it on. Any flickering? Dim spots? If something looks off, tweak it now. Once it’s all good, secure the wiring, close up the sign, and step back. That’s your handiwork, glowing for the world to see.
Why it’s worth it
A retrofit isn’t just about looks. It’s about cutting energy costs, reducing maintenance, and making sure the sign actually does its job – getting noticed. LEDs last years longer than old tubes, use up to 80% less power, and don’t need constant fixing.
Got a sign that needs an upgrade? Now’s the time. And if you’re not sure where to start, give us a call at Firstlite. We’re always happy to help.
Check out more Sign Illumination stories here